Drawing Ideas for Kids Step by Step Easy
Drawing
Easy Drawing Ideas for Kids
Published on

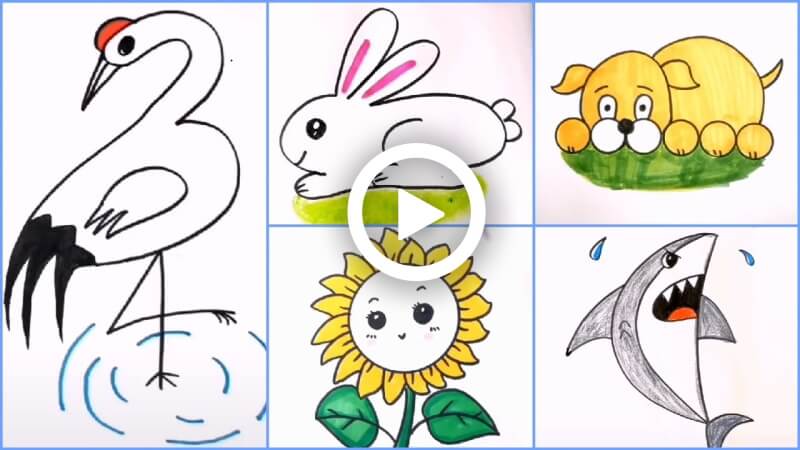
Here are 8 easy drawings kids must try. Your kids will have fun drawing these beautiful drawings. They will enhance their skills of drawing and also learn some new things about it. You can teach them how to draw it properly and they will follow you and learn it. You don't need a lot of time for it. Down below are the steps provided for drawing these amazing drawings, here are 8 easy and simple drawings you must try.
Kids can draw these with their friends and they will enjoy it. They will love drawings as well as decorating these in their house or their rooms. So try these with your kids and help them in learning some new things which will help them.
Easy Drawing Ideas for Kids
Materials required:
- Marker/ pencil
- Paper
- colors
Drawing 1: Bunny
Procedure:
- Draw a 3 by extending the middle line.
- Now from the end line of the 3 draw a curve line.
- Again draw a curve from that as shown.
- Then from the top of the 3 draw a half oval and then again a curve and merge the lines as in the video.
- Draw a reverse 3 on the inside of the oval and a 3 on the backside of the curve.
- Now draw a circle inside the curve and a small curvy line below it.
- Draw 2 lines on each leg.
Drawing 2: Shark
Procedure:
- Draw a 2 and then a 3 on the backside.
- Now from that 3 draw 2 lines from each side and merge them at the middle.
- Then from the middle-end draw a semi-circle and then a curve.
- Now from 2 draw 2 lines and merge them with 3.
- Draw a line and a semi-circle with a dot inside in between the 2 and 3.
- Now on both, sides draw a curvy triangle as fins.
- Draw a few zigzag patterns on the top as well as bottom as teeth on 2.
Drawing 3: Puppy
Procedure:
- Draw 6 circles in a line.
- Now draw reverse U from 2 and 3 circles and a dot inside each U.
- Draw a circle in the middle of the 2 and 3 circles.
- Then draw a reverse U from the end of the 1 circle to the starting of the 4 circles.
- Now draw 2 ears on each side and a few lines as shown.
- Draw a big curve from the top of the reverse U to the end of the 6 circles.
- Now draw a tail at the back of the curve as shown.
Drawing 4: Sunflower
Procedure:
- Draw a circle and lines all over the circle.
- Now draw petals all over the circle as shown.
- Draw 2 curves and 2 circles as the face inside the bigger circle.
- Now draw 2 curvy lines at the bottom and a small line to merge them.
- Then draw 2 lines on each side of the stem and draw 2 curvy lines on the top as well as the bottom.
Drawing 5: Shark
Procedure:
- Draw a semi-circle and from the top draw a curvy line to the end.
- Now at the end Draw a V shape and a curve.
- Draw curvy V on both sides as shown.
- Now draw a U shape towards the line and some zigzag patterns inside it.
- At the top of the U draw a circle and a line as the eye.
- Now draw a curvy line as the line before and 2 small V shapes.
- Draw a few water droplets at the top and a semi-circle inside the U shape.
Drawing 6: Crane
Procedure:
- Draw a 3 and a 4 below that.
- Now draw a curve and a line from the top of the 3 and then a zigzag pattern and merge the end of the 3.
- Draw a reverse U inside the 3 and a zigzag pattern at the end.
- Now at the top curve of the 3 draw a triangle shape with a line.
- Draw a curve at the top and an oval as the eye.
- Now draw a zigzag pattern at the end and a few lines and the ends of the 4.
Drawing 7: Kite
Procedure:
- Draw a straight line and from the top draw 2 lines making a triangle shape.
- At the end draw 2 curves and draw 2 curvy lines from the middle.
- Now from the bottom edges draw small rectangle shapes.
- Then from the middle draw 2 curvy lines and merge them.
- Again draw 4 curvy lines from the middle and merge them as well.
- Now draw a curvy line from the side.
Drawing 8: Beetroot
Procedure:
- Put your fingers on a paper and draw 3 zigzag patterns.
- Now from each side draw curvy figures and at the end merge them.
- Draw a horizontal line in between both the vertical curvy lines.
- Now draw lines in between the curvy finger shapes.
- Then draw a few lines as shown in the video.
That's it! Your drawings are done. These are super easy to draw and will not take much time. You can help your kids in drawing these amazing drawings, they will learn some new things and will have fun drawing these. Your kids can draw these in their free time and can also decorate these drawings in their rooms.
Read More:
![]()
More in Drawing
-
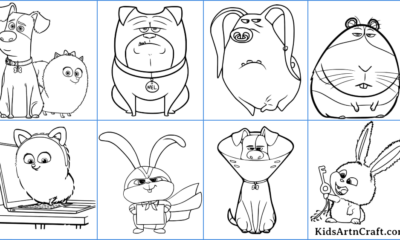
Coloring Pages
The Secret Life Of Pets Coloring Pages For Kids – Free Printables
The Secret Life Of Pets coloring pages can be an entertaining way to practice coloring. You...
-
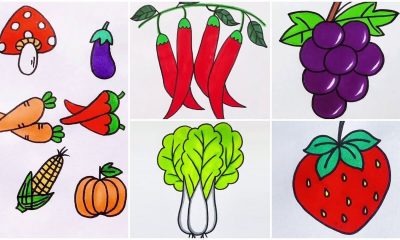
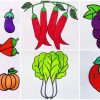
DIY and Crafts
Fruits & Vegetables Drawing Project For Kids
If you're searching for a fruits & vegetables drawing & coloring project for kids to do...
-
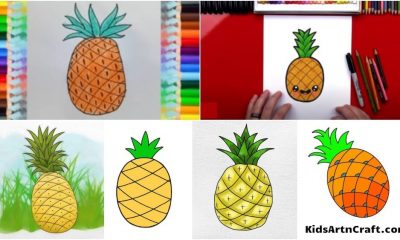

Drawing
Pineapple Drawing & Sketches for Kids
If you're searching for pineapple drawings & sketches for kids to do at home, you're in...
-

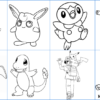
Coloring Pages
Pokemon Coloring Pages For Kids – Free Printables
Pokemon coloring pages can be an entertaining way to practice coloring. You can download and print...
-
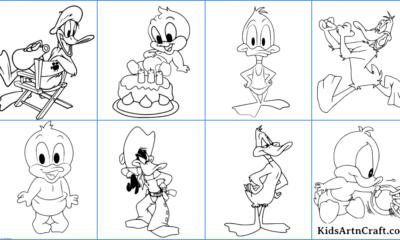
Coloring Pages
Daffy Duck Coloring Pages For Kids – Free Printables
Daffy Duck coloring pages can be an entertaining way to practice coloring. You can download and...
Source: https://www.kidsartncraft.com/easy-drawing-ideas-for-kids/
0 Response to "Drawing Ideas for Kids Step by Step Easy"
Post a Comment